
You've authorized a Shopify custom app, watched the confirmation screen, and still can't find anything on the thank you page or order status page. The app appears in the admin, but your customers see no order editor, upsell, or account feature. That situation is common because Shopify install custom app isn't a one-click task. It has two separate jobs: authorize the app for the correct store, then place its app block on a supported Shopify surface.
Table of Contents
- Why Installing a Custom App Is a Two-Phase Job
- Prerequisites, Plans, and Staff Permissions
- Creating and Authorizing the Custom App
- Placing the App Block on the Order Status Page
- Troubleshooting the Most Common Install Failures
- Real-World Walkthrough From Click to Customer
- Verification Checklist and Final Questions
Why Installing a Custom App Is a Two-Phase Job
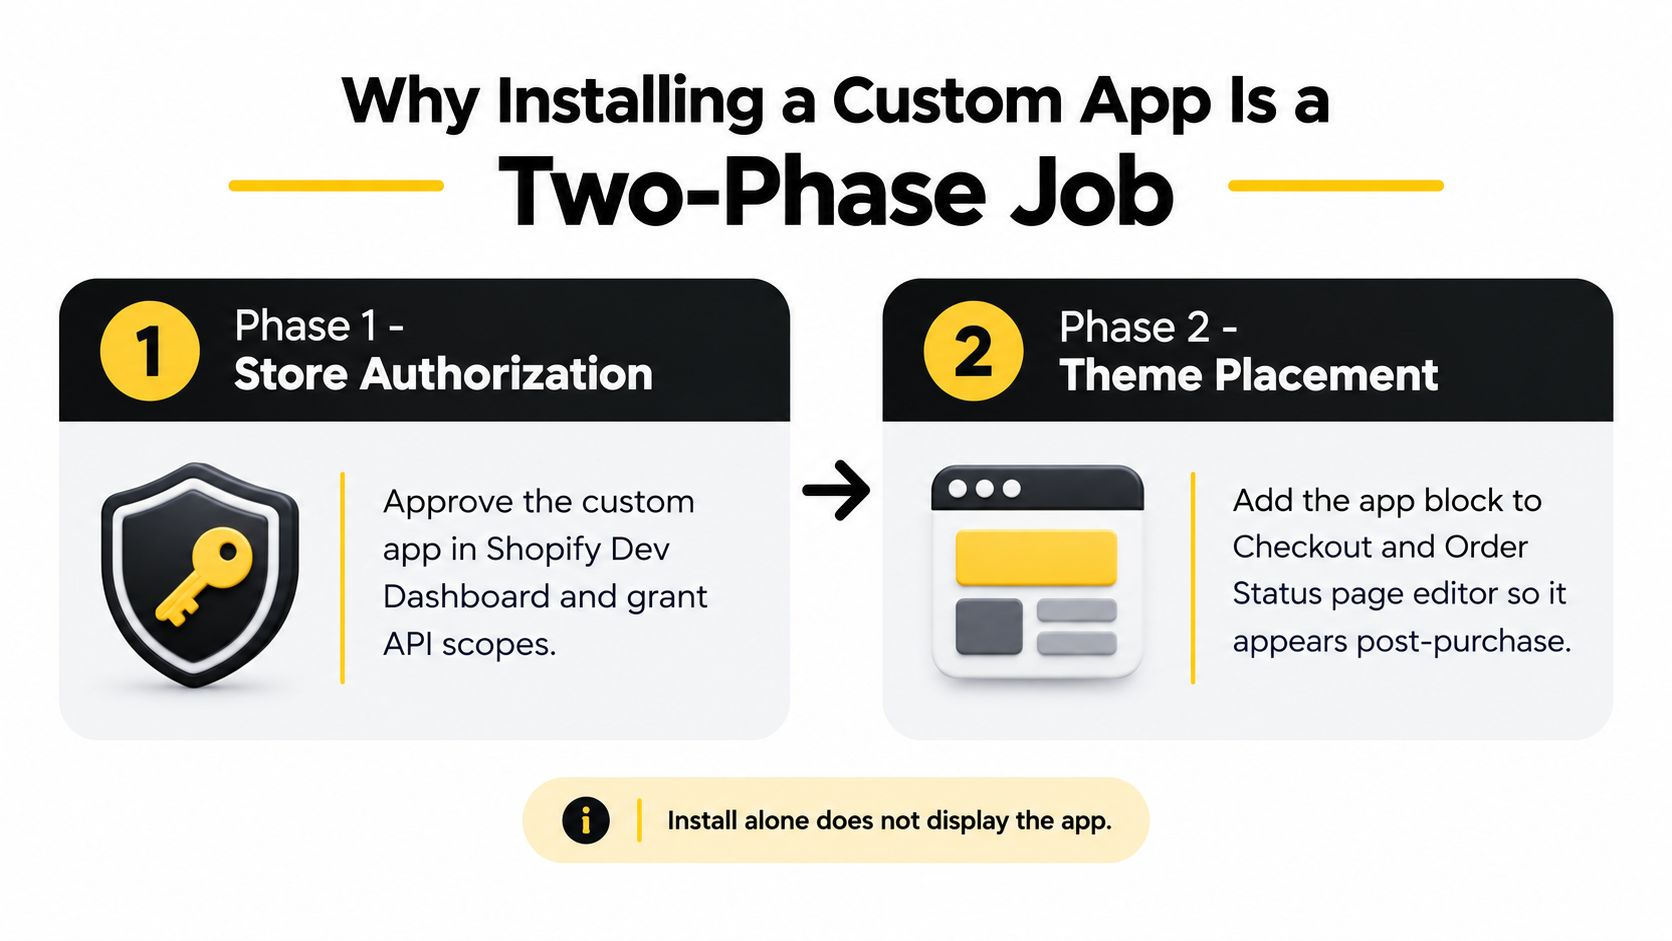
Shopify treats authorization and presentation as different operations. During authorization, the merchant approves the app's requested data access and privacy policy, then installs it through a store-specific installation link. Shopify's official app installation documentation explains that a custom app link is tied to one store and can't be reused elsewhere.
That approval gives the app permission to operate. It doesn't automatically decide where the app should appear in the customer experience. For post-purchase tools, the important work usually happens in the checkout and customer accounts editors, where a merchant adds the app's block to a compatible destination.
Phase one is store authorization
The developer creates or configures the custom app in Shopify's Dev Dashboard. The merchant then opens the generated installation link while logged into the intended store, reviews the requested scopes, and selects Install app. This is the security boundary. If the merchant doesn't approve the requested access, the app won't receive the permissions it needs.
Phase two is app-block placement
After authorization, the merchant opens the relevant editor, finds the installed app, and adds its block to a supported page. Shopify's checkout customization options describe this block-based model, including searching installed apps and checking which destinations each block supports.
Practical rule: If the app is installed but absent from the customer-facing page, check placement before reinstalling it.
The most reliable mental model is simple: authorization makes the app available to Shopify, placement makes the feature visible to customers. A successful first phase can therefore look like a failed installation until the second phase is complete.
Prerequisites, Plans, and Staff Permissions
Before opening an installation link, confirm that the store, app, and people involved are ready. Shopify's checkout and customer-account customization documentation indicates that supported app customizations are available on Basic Shopify plan or higher, with some capabilities also available on Shopify Plus. The exact destination still depends on the app extension and the page it supports, so plan eligibility alone doesn't guarantee that every block will appear.
The custom app must already exist in the Shopify Dev Dashboard, and the developer must configure the access scopes and extension points required for the feature. A post-purchase order editor, for example, needs a supported order status or customer-account surface. A theme rewrite won't substitute for a missing checkout or customer-account extension.
Confirm the people and permissions
The store owner should perform the authorization whenever possible. Staff access can be enough for parts of the workflow, but the account must have the relevant app installation and configuration permissions. A developer with staff access can prepare the app and troubleshoot it, but shouldn't assume they can authorize it on the merchant's behalf.
Two-factor authentication is also required for custom app development and installation workflows. Check the store URL carefully before opening the installation link. Shopify binds a custom app installation link to the intended store, so a link generated for one store won't function as a general-purpose link for another.
If your team manages operational workflows as well as post-purchase experiences, document who owns installation, block placement, and testing. A useful companion reference is this guide to Shopify order workflow configuration.
Staff roles and install permissions
| Role | Can install custom app | Can place app block | Notes |
|---|---|---|---|
| Store owner | Yes | Yes | Can review authorization and complete the merchant approval step. |
| Staff member with app permissions | Usually, subject to store settings | Yes, if granted editor access | Can configure the app and placement when the owner has enabled the required access. |
| Developer with staff access | Can prepare the app and assist | Can configure supported editors if permitted | Should not assume they can approve authorization for the merchant. |
A short preflight prevents most wasted attempts: verify the target store, confirm two-factor authentication, check staff permissions, and ask the developer which Shopify surface the app is designed to use.
Creating and Authorizing the Custom App
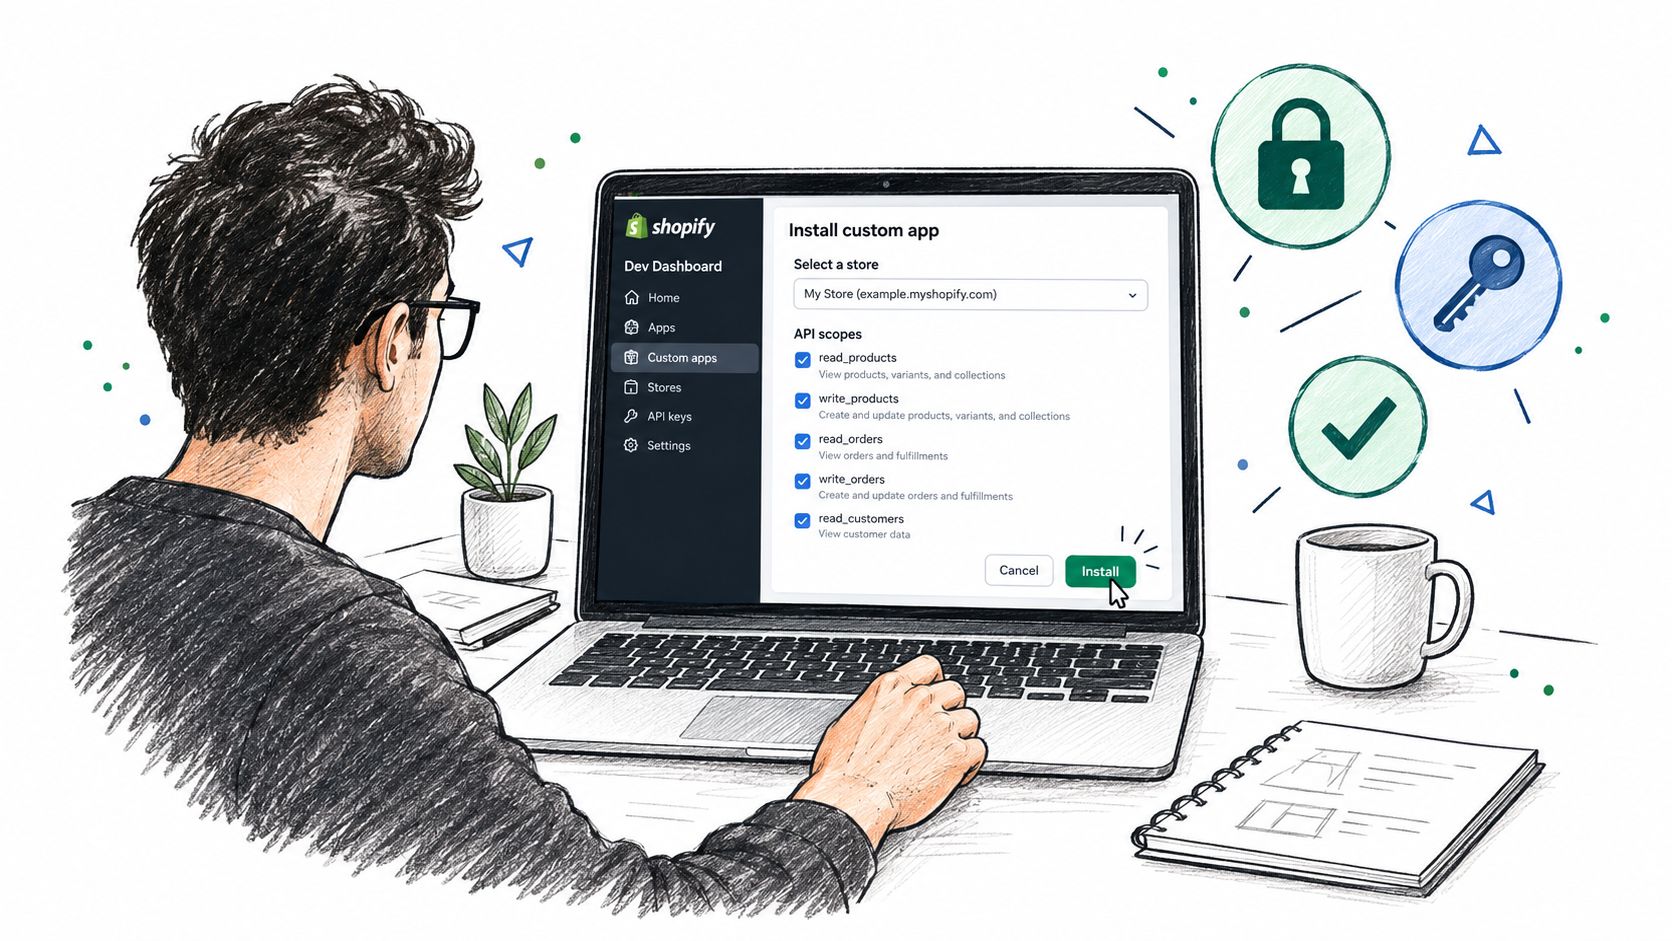
Authorization begins in the Shopify Dev Dashboard, not in the theme editor. The developer selects the target store, opens the custom app, and reviews its configuration. Under the API access settings, select only the scopes the app needs, then save the configuration before generating the installation link.
Shopify's custom app installation guidance states that the link is store-specific. That matters in agencies with development stores, staging stores, and production stores. A link copied from the wrong partner organization or generated for a different store can produce an invalid-store result even when the app itself is configured correctly.
The authorization sequence
- Select the intended store. Confirm the store name and domain in the Dev Dashboard before generating anything.
- Review API scopes. Ask the developer what each scope enables. If the app edits orders, reads customer information, or manages fulfillment-related data, the requested access should match that purpose.
- Save the configuration. Scope changes aren't useful until the app configuration has been saved.
- Generate the installation link. Treat this as a private, store-specific deployment link, not a reusable app URL.
- Open it in the merchant's logged-in admin session. Avoid testing in a browser session connected to another store.
- Review the access screen. Shopify shows the data access and privacy information before installation.
- Select Install app. The merchant must actively approve the requested access.
What to check before approval
Don't click through the authorization screen just because the app came from a trusted developer. Compare the listed scopes with the feature you requested, confirm the privacy policy is the expected one, and verify that the store shown in the admin is the correct destination.
If the app requests access that doesn't fit its job, stop and ask the developer to correct the configuration. If a scope is rejected, the cause may be an incomplete protected customer data declaration or a scope that the app no longer uses. The developer should adjust the configuration, save it, generate a new store-specific link, and repeat the review.
After installation, confirm that the app appears in the store's installed app area. That confirms phase one, but it doesn't prove that the customer-facing feature is live. You still need to place and test the extension.
Placing the App Block on the Order Status Page
Most post-purchase installation failures happen after authorization. The merchant installs the app, returns to the admin, and expects the feature to appear automatically. Shopify's current model requires a separate configuration step in the checkout or customer-account editor.
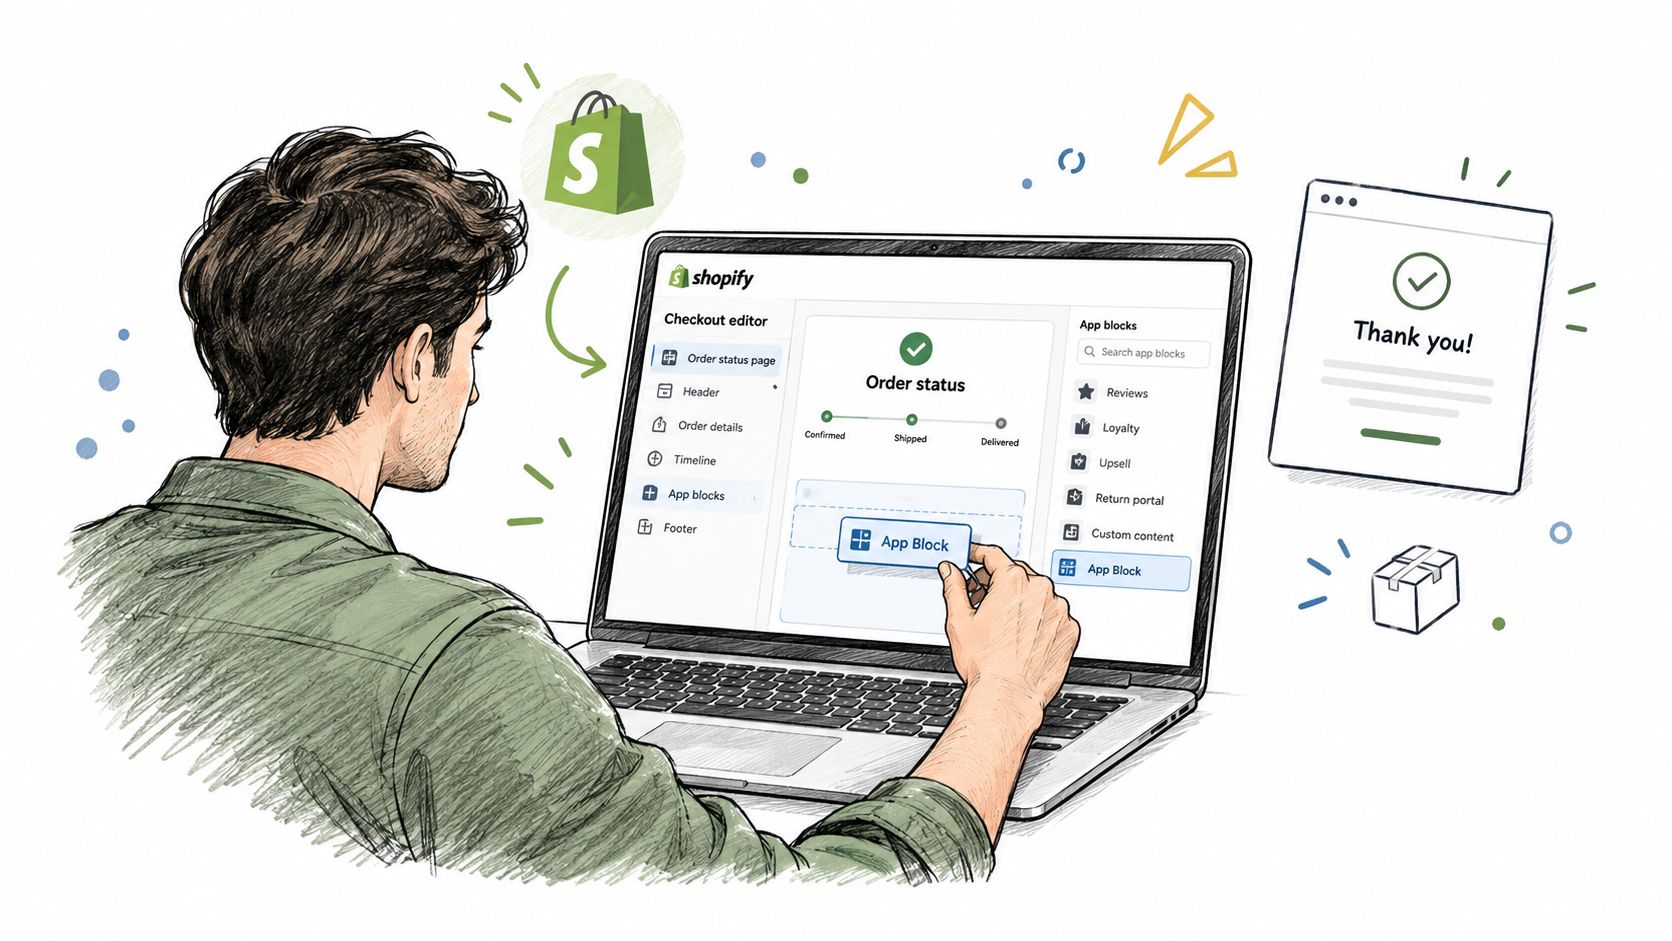
Open Settings, then Checkout, and locate the customization area for the thank you and order status experience. Depending on the app and account setup, you may instead work through Settings, then Customer accounts, to open the customer-account editor. Shopify defines the order status page as the place where customers can view, track, and manage a specific order, which makes it a natural surface for order editors, support actions, and post-purchase offers.
Add the block
In the editor, use the page selector to open Order status or the relevant customer-account destination. Select Add app block or the Apps option, then search the installed-app list for the custom app. Shopify's documentation on checkout app placement confirms that apps can be added to supported thank you and order status pages after installation.
If the app doesn't appear in the first list, search by its installed name. Don't assume every block supports every page. Shopify specifically instructs merchants to confirm supported destinations after installation, and the editor only presents compatible destinations such as Orders, Order status, Profile, or Accounts when the app supports customer accounts.
Drag the block into the intended section, such as the order summary area, then preview the page. Use the editor's desktop, mobile, and fullscreen views to check whether the component fits the available space. Save the configuration only after confirming the content, position, and visibility rules.
A useful reference for this part of the workflow is the guide to customizing Shopify's order status page.
Treat preview as a configuration check
The editor confirms that Shopify accepted the block and its location. It doesn't replace a customer-path test. Place a real test order, open the resulting order status page, and confirm that the app loads for the customer account and order state you're testing.
This distinction matters for conditional apps. An order editor might hide itself after fulfillment, while an upsell might exclude an order with no eligible products. A block can therefore be correctly placed and still remain intentionally invisible for a particular test order.
Troubleshooting the Most Common Install Failures
A failed custom app installation usually has a recognizable symptom. Diagnose the symptom first, then change one variable at a time. Reinstalling repeatedly rarely fixes a missing extension point or an editor compatibility problem.
Start with the visible failure
If the block never appears in the editor, check whether the developer configured the correct post-purchase or customer-account extension point. Also verify that the app is connected to the intended store and that the app is no longer limited to a development organization or unselected test store.
An installation link that returns a 404 or invalid-store message usually points to a store mismatch. Check the domain in the link, the store currently open in the admin, and whether the staff account used to create the link still has access. The link must be generated for the approved store.
Scope rejection requires developer input. The requested API access may be outdated, incomplete, or subject to customer-data requirements that haven't been declared. Don't bypass the review screen. Ask for the scope list and compare it with the feature's actual requirements.
| Symptom | Likely cause | First fix |
|---|---|---|
| App installs but no block appears | Missing or incompatible extension point | Ask the developer which page and block type the app supports. |
| Install link shows an invalid store | Link generated for another store | Reconfirm the store domain and generate a new link for that store. |
| Authorization rejects requested scopes | Scope configuration or protected data issue | Have the developer review scopes and declarations in the Dev Dashboard. |
| App appears in the wrong store | Partner dashboard defaulted to another target | Select the merchant's production store explicitly before generating the link. |
| Block appears in one editor but not another | The extension doesn't support that destination | Use the supported page shown by Shopify, or request a compatible extension. |
Before contacting support, record the store domain, app name, exact error text, current user role, and the page where the block is missing. The Mayra Apps FAQ is also a useful place to check product-specific installation questions before escalating.
Deployment habit: Keep authorization errors separate from rendering errors. The first concerns access. The second concerns extension compatibility, placement, or runtime behavior.
Real-World Walkthrough From Click to Customer
A Shopify Plus merchant receives a store-specific installation link from a third-party partner for a post-purchase upsell app. The merchant opens the link while logged into the production store, confirms the store identity, reviews the requested data access, checks the privacy policy, and clicks Install app.
The app now exists in the merchant's Shopify admin, but the customer experience hasn't changed. The merchant opens the checkout editor, selects the order status page, searches the installed apps list, and adds the upsell block to the order summary area. The editor preview shows the placement on desktop and mobile, so the merchant saves the configuration.
Testing the actual customer path
The merchant places a real discounted test order using their own customer account. They confirm that the upsell block loads from the order status page, that the offer matches the order's eligibility rules, and that the feature doesn't appear when the order should be excluded.
For a post-purchase offer, this test should cover more than visual placement. Confirm that the customer can interact with the block, that the resulting action updates the original order correctly, and that the app records the event in its dashboard. A test order also exposes account-state issues that an editor preview can miss.
The merchant then checks the app's event activity and Shopify admin records. Only after the customer-facing behavior, order handling, and reporting signal all agree should the team publish the workflow for normal customers.
This is the practical meaning of the two-phase model. The installation screen proves authorization. The test order proves that Shopify can render and execute the authorized extension where customers use it.
Verification Checklist and Final Questions
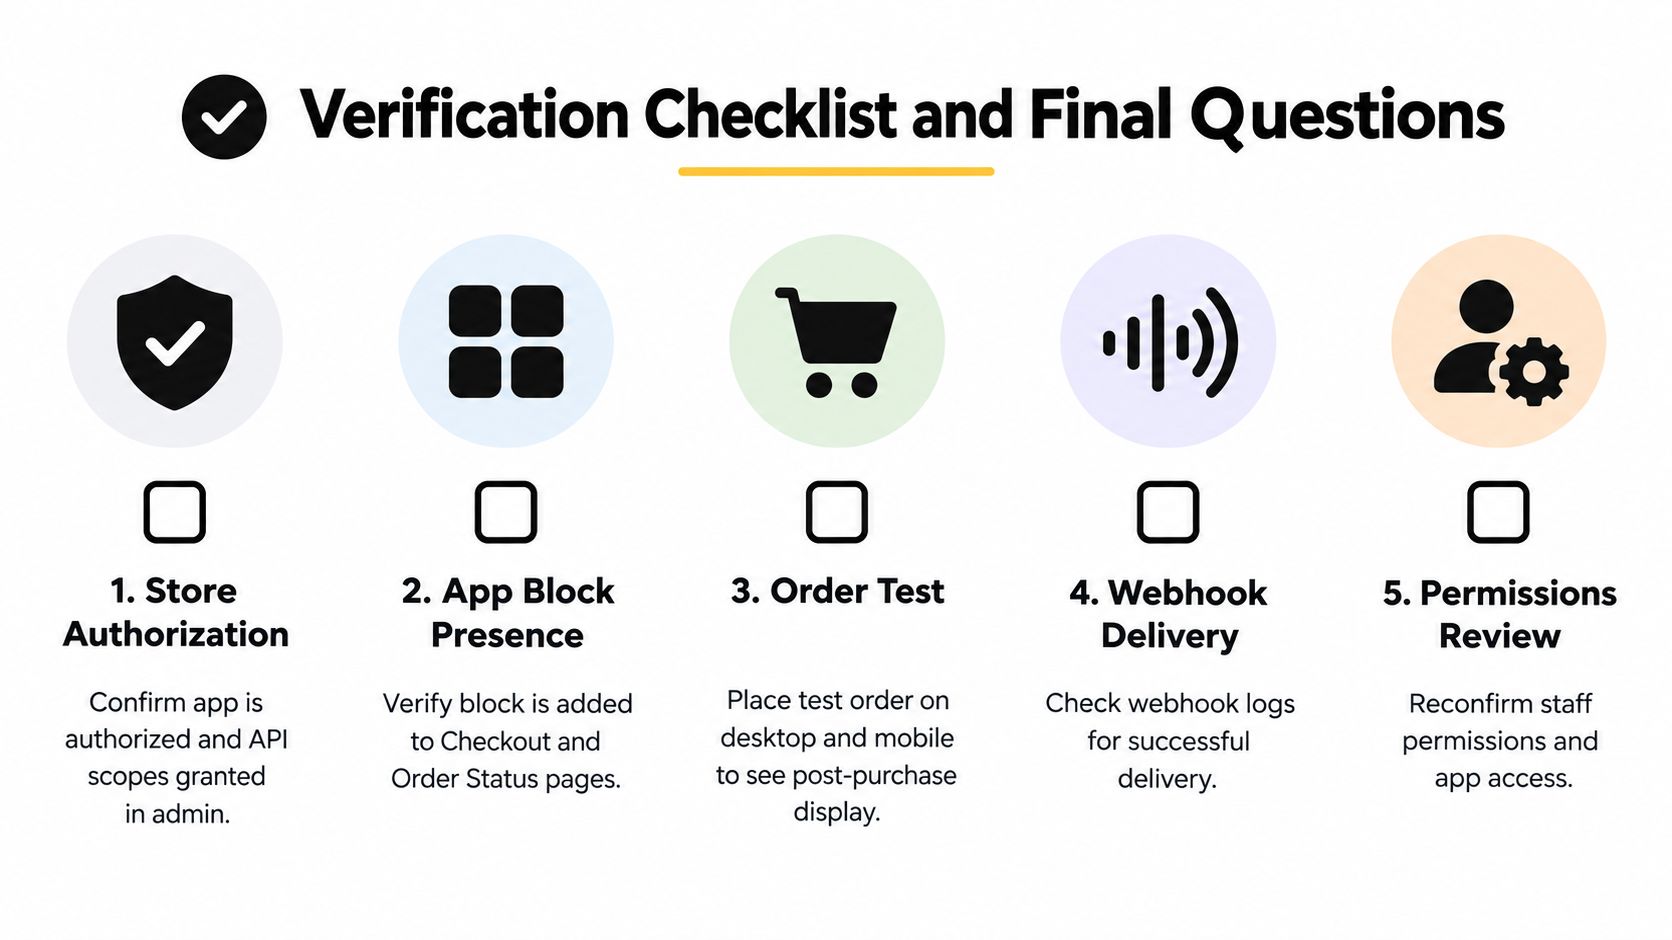
Use this checklist after every Shopify install custom app deployment. It separates the authorization proof from the placement proof, so a silent failure has a clear starting point.
- Store authorization: Confirm that the app appears in the correct Shopify admin and that the approved API scopes match the developer's requirements.
- App block presence: Open Checkout or Customer accounts and verify that the block is added to the supported order status, thank you, or account destination.
- Order test: Place a real test order and inspect the customer-facing page on desktop and mobile.
- Webhook delivery: Ask the developer where webhook events are logged, then confirm successful delivery for the test order.
- Permissions review: Recheck staff access and confirm that the people responsible for configuration can manage the app and editor.
Final questions merchants ask
Can I install any custom app on any plan? No. The app's extension type and the store's Shopify plan determine which customization surfaces are available. Check the supported plan and destination with the developer before deployment.
What happens if I uninstall the app? Uninstalling removes the app's authorization from the store, but data retention and cleanup depend on the app's implementation and policy. Ask the developer what happens to stored configuration, customer data, and historical records before removing it.
What if installation succeeds but nothing renders? Return to the editor, search the installed apps list, and verify the block's supported destinations. Then place a real test order. If the block remains absent, send the developer the store domain, app name, user role, exact page, and any request ID shown by Shopify.
Who should fix a scope or extension error? The app developer must correct Dev Dashboard configuration, scopes, declarations, or unsupported extension points. The merchant controls authorization and placement.
The cleanest deployment record has two confirmations: Shopify authorized the app, and a customer test proved that the block works on the intended page.
Mayra Apps helps Shopify merchants configure post-purchase experiences such as self-serve order edits, cancellation deflection, and one-click upsells through customer accounts and the order status page. If you're installing a custom app for these workflows, visit Mayra Apps to review the available setup and placement options.